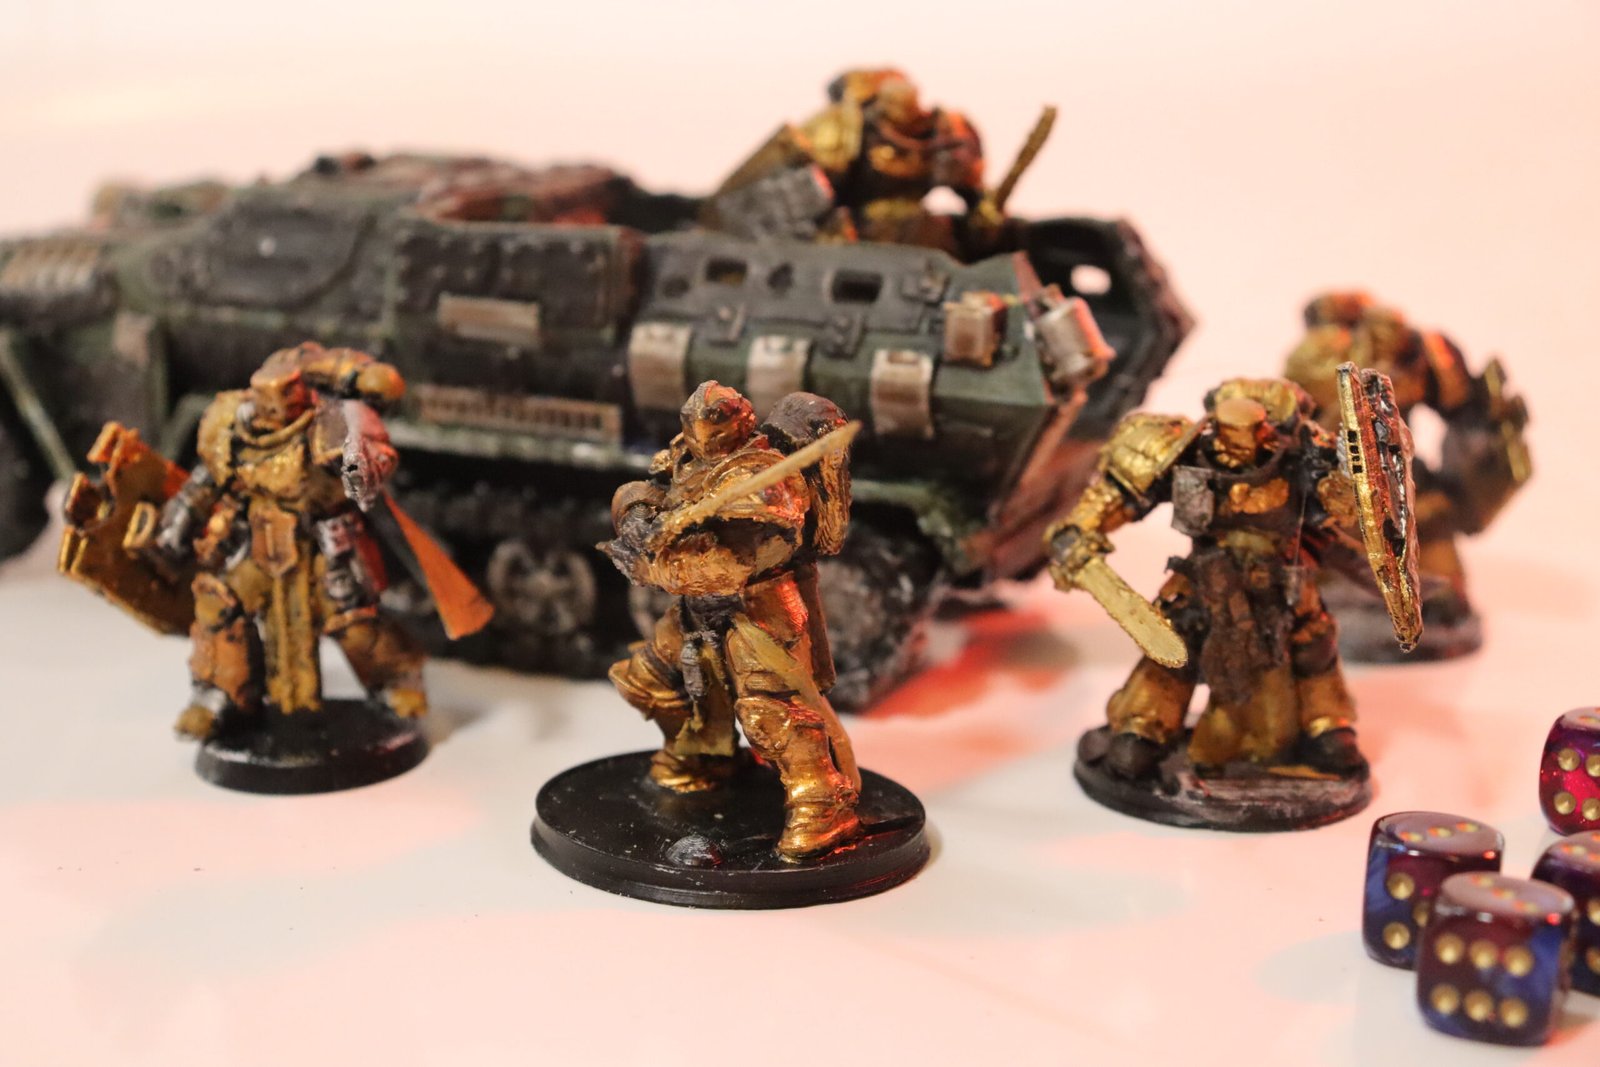
Painting Miniatures 101
Affiliate Disclosure: Minicrafthub.com is a participant in an affiliate advertising program designed to provide a means for us to earn fees by our links to affiliated sites. When you purchase through our affiliate links, we may earn a commission at no extra cost to you. Your support helps us continue providing valuable content. Thank you!

Disclaimer
What you read is information that comes from either the writer’s experience or their research. We do not call ourselves experts and if you wish to learn more on this topic we highly recommend it.
Basics and Advanced Techniques
Welcome to the realm of miniature painting, where the delicate art of transforming small figurines into captivating works of art unfolds. This comprehensive guide will delve into the foundational basics and advanced techniques that will empower you to breathe life and character into your miniatures.
why?
Are you creating an army or are you doing it for the fun of painting miniatures or are you army building?
It’s important to know so you decide what figures for the players or the army you want to make.
Finding Miniatures to Paint
Here are the best games that have high-quality figures depending on what game you’re into.
Games Workshop has been around for a long time and has the best quality figures.
Conquest is a rising tabletop army-building game similar to Warhammer. To start, you might search for simple miniatures with as few details as possible. The more you have to paint the more time it will take.
Warhammer Omnyworlds is a recommended starting set, for $30. It is a great starting set to see what faction you want to focus on. The figures are normally heroes or squids.
3D Printing also is a nice budget-friendly start, but there is a little more that goes into it. Look here for more information on it.
It can be stressful when choosing miniatures. Don’t be, because you can always make your lore or backstory fit your vision.
Materials and tools
You can use normal glue from the store, or if you want to use a type of high-grade glue you can use plastic glue.
Wet palettes will help a lot. It will keep your paints wet and you can easily mix paints on it. To make a cheap Wet Palette at home find a plastic box place a small amount of water at the bottom and, use a Wettex sponge flat on top. Next, find some nonwax parchment paper and place it on top of the sponge. Another option is to use a random wet sponge, not as good but it will keep your paints moist.
Brushes
Kolinsky paint brushes are meant for doing details. They allow you to paint areas that require a steady hand.
Synthetic Brushes are cheap and good for big areas designed to paint large canvasses, or in this case, large blank spaces on the figure.
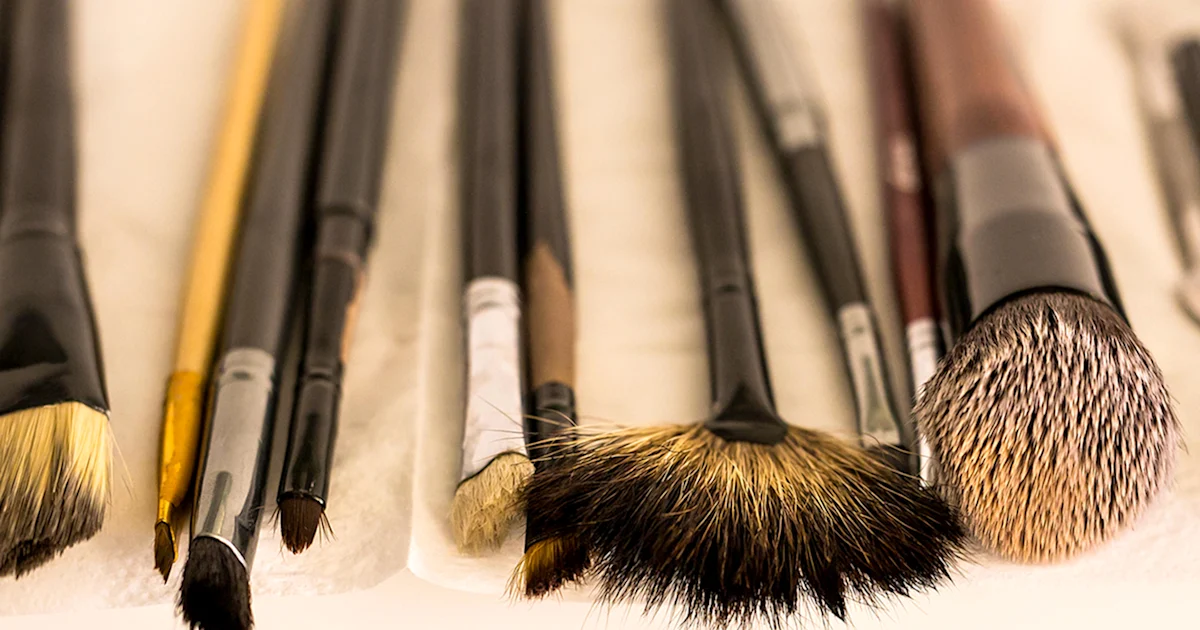
Makeup brushes can be recommended, or use old brushes. Another option is to search for those expansive options on Amazon.
When priming, say an army, you might choose a primer that is the main color of the figures. For example orc, orcs have a main color of green so you might prime all the “boyz” in dark green. You can find primers at your hardware store, or if you want to spend a little extra you can get Army Painter primers or Citadel Primers. The difference being the cheaper the lower quality.
Paints
Acrylic are the base of all your paints. Vallejo Model Paints or Citadel paints are good sources for starter paints.
Washes are an oiled-down paint that is thin and made for detailing your figure. We use washes to darken your figure’s cracks or crevasses, which can give more detail to the shadows.
Contrast Paints are similar to Washes but are thicker and a middle ground between Acrylic and wash paints. If you are a beginner and painting an army consider Contrast Paints as you can prime figures white and paint them with one coat of contrast paint to get the details of the miniafigure. (We’ll explain more further on.)
Painting

Painting
Start by finding a well-lit location, most likely use a desk light. You want to have an equal amount of light on your figure.
Step 1
When painting you will start by using Acrylic paints in large areas of paint, and you will have to do two layers. After you feel satisfied you have covered all the areas then add those shadows.
Step 2
Use the Wash and lightly cover the figure with it. After you find the miniafigure has darkened, use the original Acrylic paint layer and highlight the figure.
Step 3
You can dry brush hard surfaces to give ware to it. To dry the brush use the makeup brush or old brush dip it in water then use a paper towel to dry it mostly. After finding a lighter paint than the surface you are painting on dip the brush in it. Take the brush and dab it on the paper towel until there is very light paint
Pro Tip
When painting with your brush, especially Kolinsky Sabel’s Paintbrush, at some point it can become messy. You can use your saliva to reshape the brush but make sure you rinse as much paint off before this.
Method for Army Painting
Another method of painting is the slap-and-chop technique. This is the quickest and easiest way to paint an army without spending too much time. Start by priming your figure black or a dark primer. Dry brush it with white, this will give your figure shadows. Next use Contrast paint for the main colors. You should only need one layer of contrast paint, after you can use Acrylic paint to give more highlights to your figures. If you don’t have Contrast paint you can use watered-down Acrylic paints, but it won’t be as effective.

